Whether you’re looking to fit a Perfect Fit Venetian, pleated or roller blind, installation couldn’t be easier. Here, you don’t need to drill or screw anything into the surrounding walls – simply follow the below instructions, and you’ll be hanging perfectly fitting blinds in no time at all!
WHAT YOU NEED
• Your blind, carefully unpacked
• Pencil
• Screwdriver
• Lubricant or washing up liquid, to help slide the brackets into place
• Old credit or loyalty card, for easy measuring
TOP OR FACE FIX?
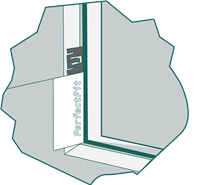
The best thing about our Perfect Fit blinds is that you don’t have to worry about top or face fix – at all! With this blind style, there’s no need to fix any brackets to the wall or ceiling, meaning that there’s no drilling involved. Easy peasy!
WHAT TO DO
FITTING A ROLLER, PLEATED OR VENETIAN PERFECT FIT BLIND
Whatever kind of Perfect Fit blind you’re looking to hang, the main principles remain the same for each. When reading this guide, bear in mind that the instructions supplied with your blind may vary from style to style, and the type of window frame you have can impact upon the method too.
Step one: Assembling the Perfect Fit blind
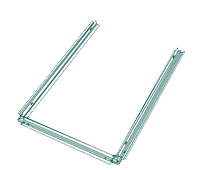
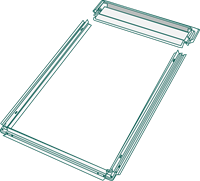

Once unpackaged, lay out the blind and parts of the frame face down on the floor, in the same formation as it’ll need to be assembled. Take the left hand frame part and slide it onto the given joint of the bottom left corner, pushing it into its more secure place. Then, do the same on the top left corner joint, and the entire right hand side of the frame. When all parts are connected, simply tighten with the given screws.
Step two: Fitting the brackets
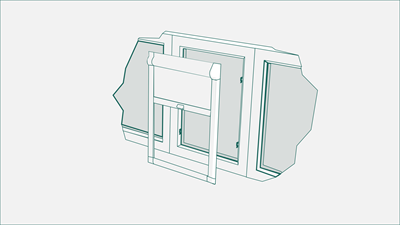
To help slide the blind into place once the brackets are installed, smooth a little washing up liquid or lubricant along the flat base of the window bracket, just before you put the bracket between the window and rubber seal.
To figure out the correct spacing the brackets need, place your old credit card in the corner of the window (85mm) and line up the window fixing bracket at the edge of the card nearest to the shorter window edge. Fit the bracket by pushing it between the glass and the rubber seal on your window, and do the same for any intermediate brackets too. You’re now ready to hang the blind!
Step three: Fitting the blinds
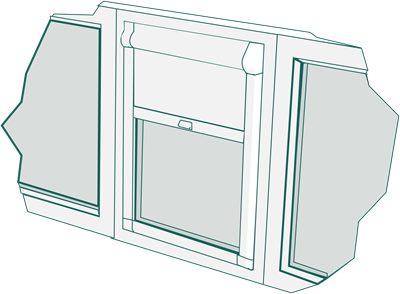
The brackets will now slightly protrude from your window, ready for your blind to hang on them. Now, using that trusty credit card again, you can ensure a perfect line up for each of the holes in the bracket. Once you’re satisfied that they are on straight, you can press on the Perfect Fit frame. Do this by pushing the left hand side into the brackets first, and aligning the frame with the brackets until they click into the place. Repeat for the right hand side, and your blind is perfectly hung and ready to use!
QUESTIONS?
If you have questions about fitting your panel blinds, why not give us a call and chat to one of our friendly Customer Services Advisors on 0800 046 1502
