A sure-fire way to inject some personality into a room, roman blinds are also an easy way to add a pop of colour. Whether you opt for subtle shades or plucky prints, they’re easy to install and come made-to-measure.
WHAT YOU NEED
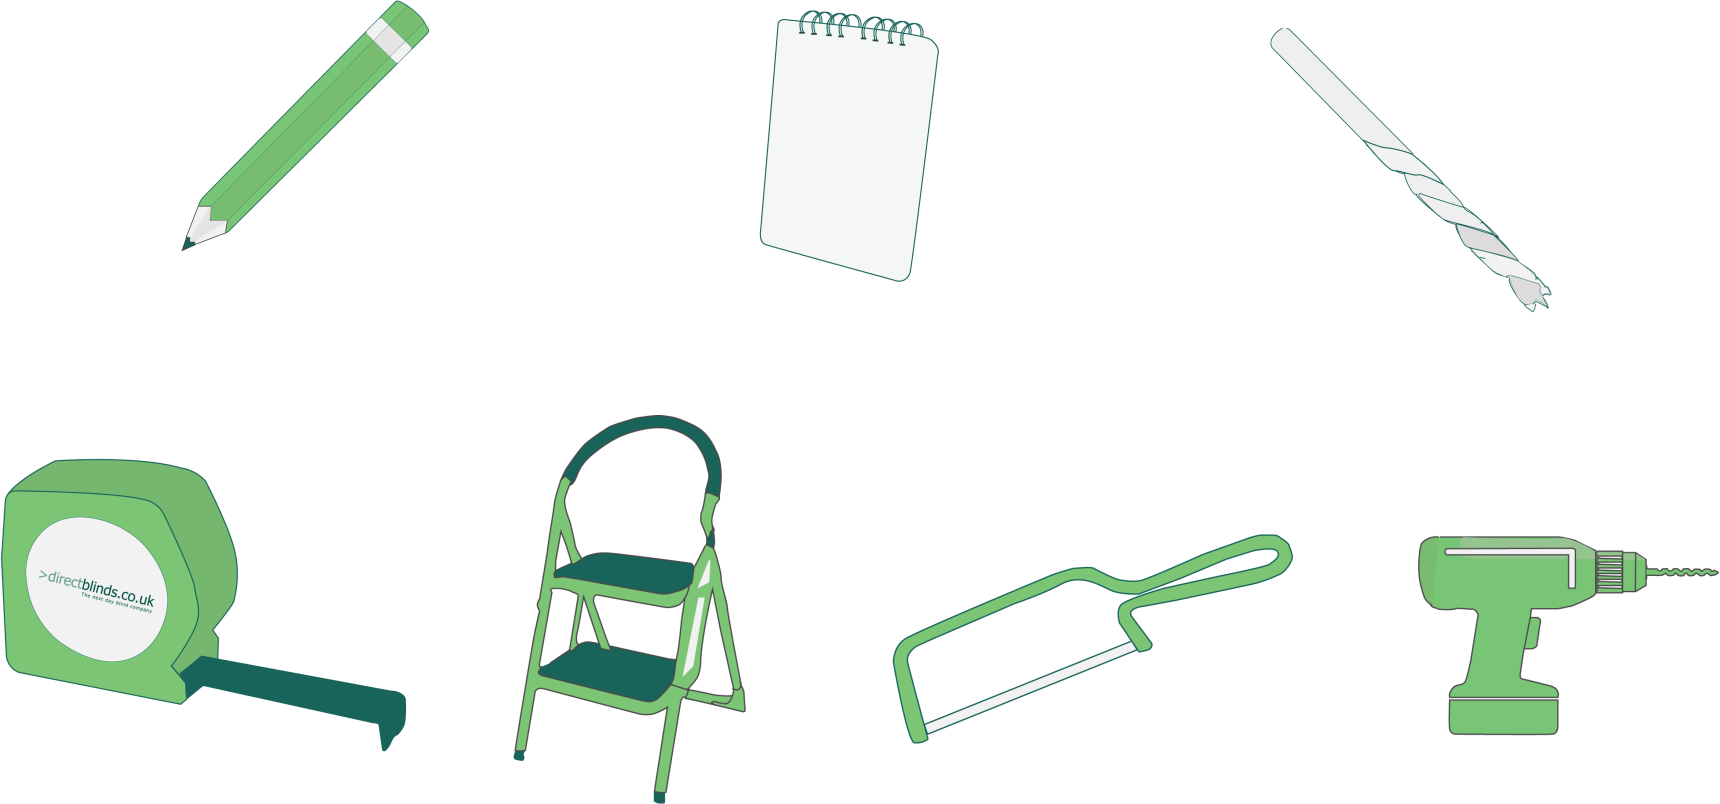
• Your blind, carefully unpacked
• Screwdriver
• Pencil
• Appropriate screws and fittings
• A drill, though not needed in all cases
• A metal tape measure
• A sturdy step-ladder
TOP OR FACE FIX?
Ideally this should have been addressed when you measured – but if not, don’t worry. Now’s the time to decide. A top-fix is where the blind is fitted to the lintel (the top of the window recess) or ceiling, whereas as a face-fix will need fitting to a wall or window frame. Decide on your method of installation before choosing your next set of steps, as it defines where you should affix your brackets. Once those are good to go, you can install the blind in the same way.
WHAT TO DO
FITTING A FACE-FIX AND TOP-FIX ROMAN BLIND
STEP ONE: INSTALLING THE BRACKETS
With all our roman blinds, we supply the appropriate number of brackets you’ll need as well as wood screws – but bear in mind, wood screws won’t be suitable for all surfaces, and you’ll need to purchase additional screws if you’re planning on installing the blind into alternative surfaces such as plaster or concrete. All our brackets are universal, and will work whether top or face fixing your blind.
STEP TWO: DETERMINE YOUR BRACKET TYPE AND INSTALL
As standard, all of our roman blinds are supplied with a deluxe sidewinder headrail. Sidewinder mechanisms mean that you pull on a side ball chain to raise or lower the blind, and it’s important that you read all of the instructions before beginning to fit your blind!
As standard, all of our roman blinds are supplied with a deluxe sidewinder headrail. Sidewinder mechanisms mean that you pull on a side ball chain to raise or lower the blind, and it’s important that you read all of the instructions before beginning to fit your blind!
Your brackets will either be a ‘swivel’ bracket with a movable arm [fig1], or a spring bracket [fig2].
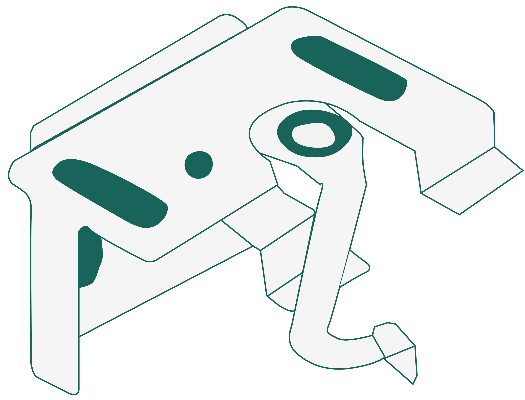
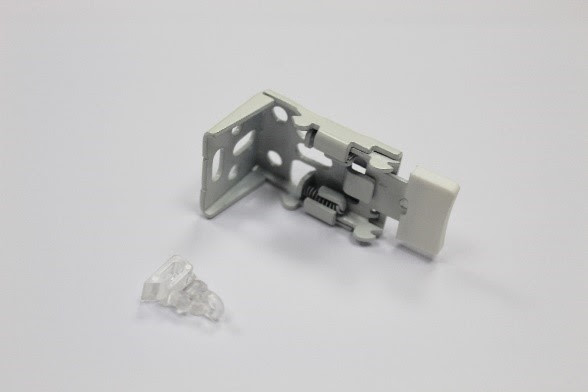
FITTING THE SWIVEL BRACKET [FIG1]
The brackets should be positioned 50mm in from each end of the blind and then evenly spread across the width of the window, use all the brackets provided. To fix the bracket to the desired surface, place them in the appropriate position and mark the surface of the wall or window frame through the holes in the bracket. This indicates your fixing points for the brackets. Make a firm fixing and test the brackets are secure.
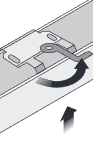
Now to attach the blind headrail to the brackets. To prevent damage ensure you support the weight of the blind across its full width whilst handling. Fully open the locking swivel arm as far as it will go, then clip the leading edge of the headrail over the front lugs of the bracket, at a slight angle away from you. Next push the rail up into place at the back of the bracket ensuring the profile sits level.
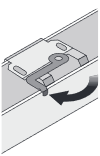
To finish, simply rotate the locking arm across into the closed position and check the blind is secure.
Repeat for all brackets.
FITTING THE SPRING BRACKET TYPE
The brackets should be positioned 100mm in from each end of the blind and then evenly spread across the width of the window, use all the brackets provided. To fix the bracket to the desired surface, place them in the appropriate position and mark the surface of the wall or window frame through the holes in the bracket. This indicates your fixing points. Fix the brackets and check they are secure.
Once your brackets are correctly fitted to the wall you can attach the blind headrail. To prevent damage whilst handling ensure you support the full width of the blind. Hook the leading edge of the headrail onto the front prongs of the bracket – not the flat lever. Push the headrail back towards the window, and push then upwards onto the rear bracket prongs, release and check the headrail is secure in the bracket. Repeat for all brackets.
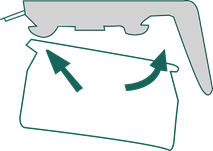
The side chain is supplied with a tension clip for CHILD SAFETY. Please ensure this is fitted with the chain extended but not tight.
The blind also incorporates child safe cord guides and stops. These may detach or activate during use. Simply reposition as soon as possible to ensure the safe and normal use of your blind.
QUESTIONS?
If you have questions about fitting your panel blinds, why not give us a call and chat to one of our friendly Customer Services Advisors on 0800 046 1502
